Earlier this year, when I was building mods for my Olympus SZH microscope, I planned a coaxial illuminator using LEDs. The design got... a little out of hand...
...and I put it aside.
Last week I stumbled upon noq2's blog, where he documented his LED mod for the same microscope. It's the polar opposite to what I was doing. His is simple, brute force, and gets the job done. Go have a read, it's nicely done (and his animated gifs of the SZH internals are great). And did I mention it's actually finished and working? :-)
This inspired me to reconsider what I was doing.
I mean, I know what I was thinking: a design worthy of the rest of the absurdly overbuilt Olympus. I mean, just look at the original collimator! They use front-surface mirrors in the light source!
Also I didn't want to sacrifice any original Olympus parts. Complete SZH coaxial illuminators still sell for over a grand. But that's mostly because they're usually missing accessories needed to operate them (the bulb holder and transformer) which I didn't need. Last summer I picked up a bare illuminator block for $90. That's cheap enough I'm willing to mod it permenently.
Then I saw noq2's build. It was brilliant. And even better, I can have everything I originally wanted with a dead-simple addition.
The whole 'tactical flashlight' craze has spawned a smorgasboard of cheap, canned collimation optics for LEDs. They're even better than lenses as they sit all around the emitter instead of a distance in front, so they catch more light. Most are 90%+ efficient.
So I'm taking what noq2 did and slapping a $2 spot-collimator on front. No muss, no fuss. Well, I have to fuss a bit, so I'll put the driver electronics inside the housing, and add an intensity adjustment too. Still not *much* fuss.
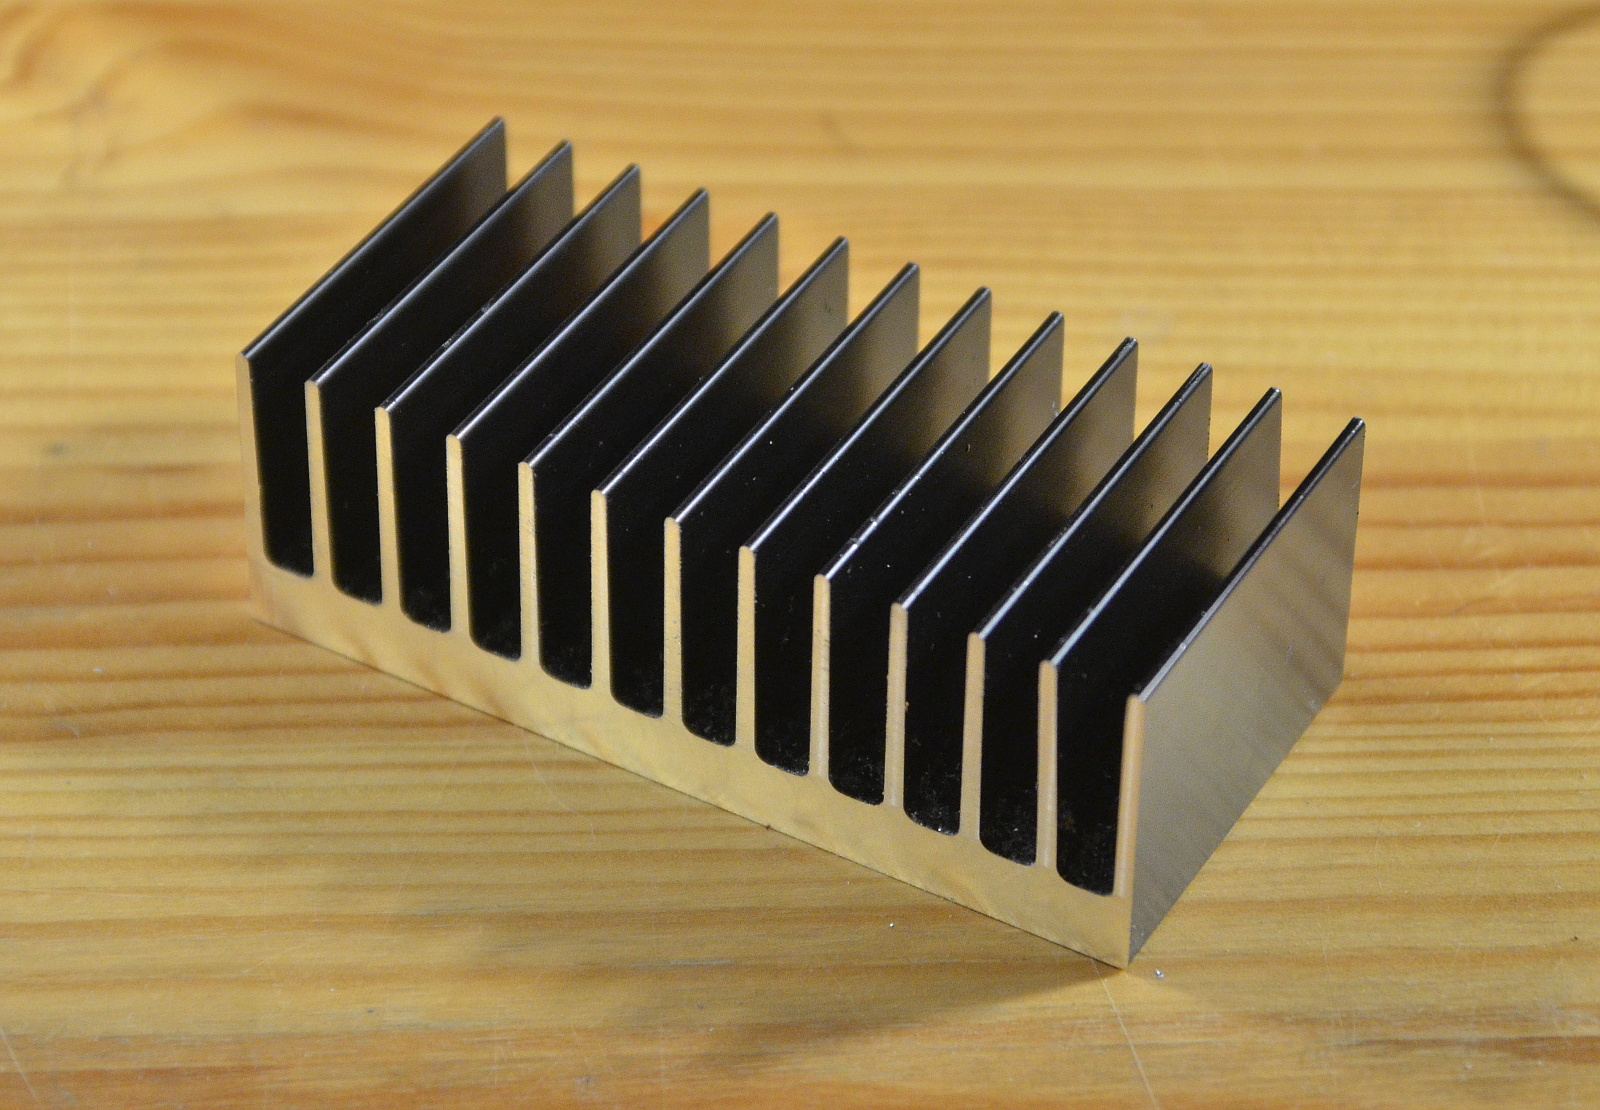
...beginning with hacking off a big ol' chunk of heatsink using a dull beaver...
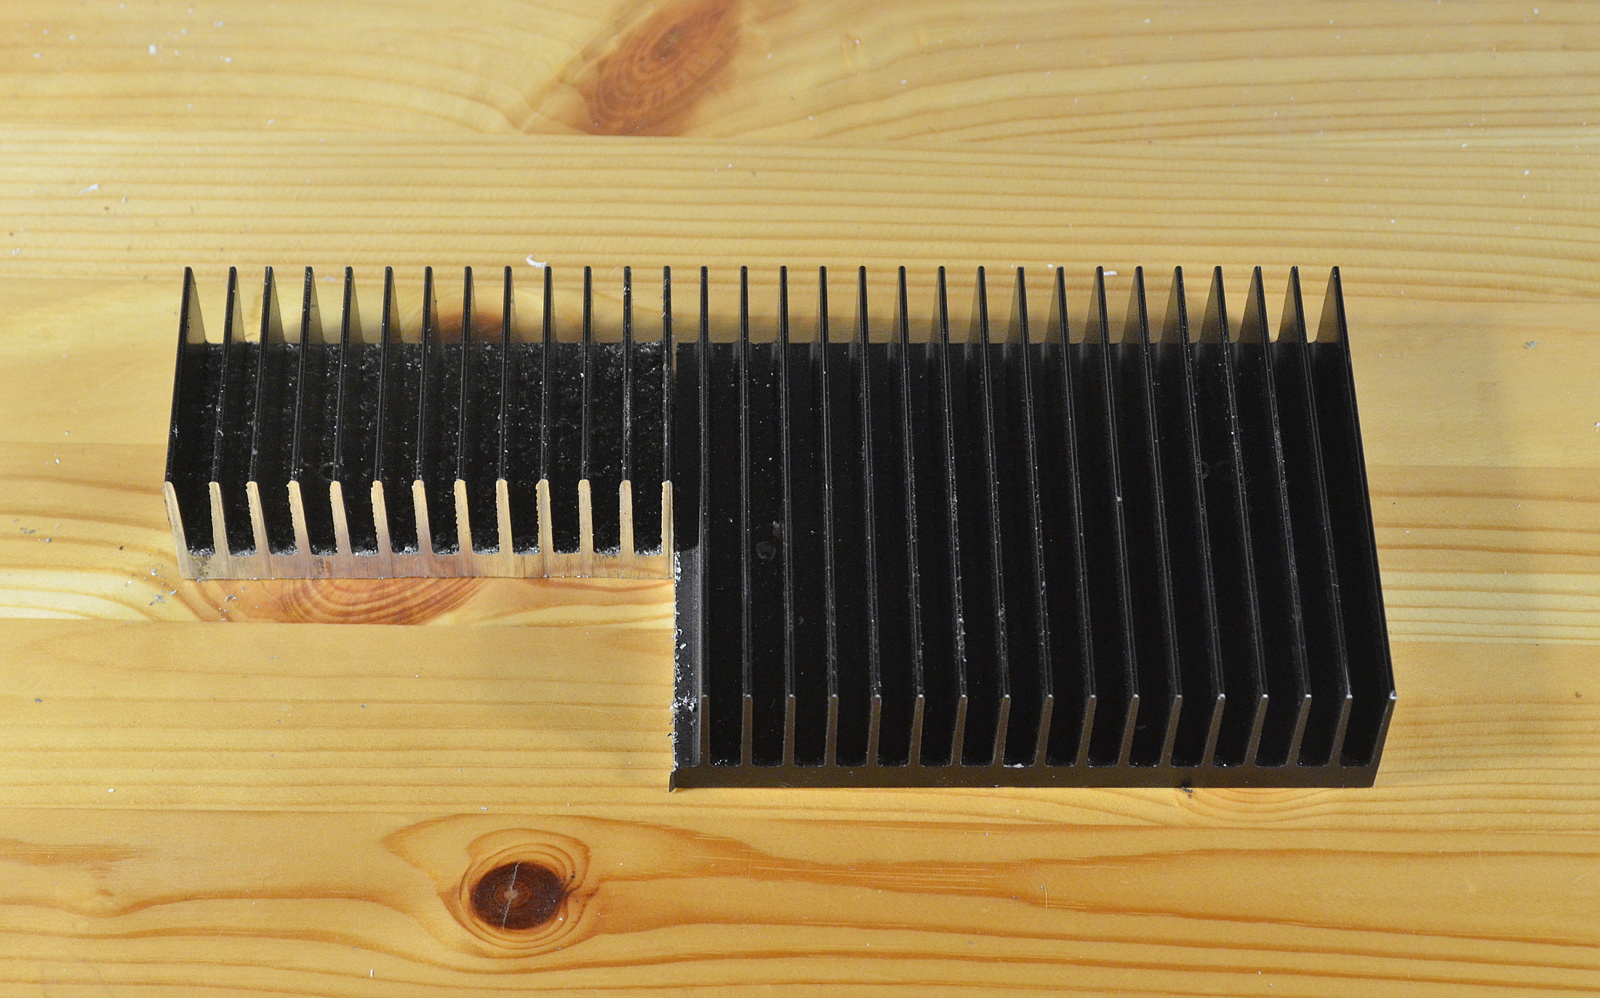
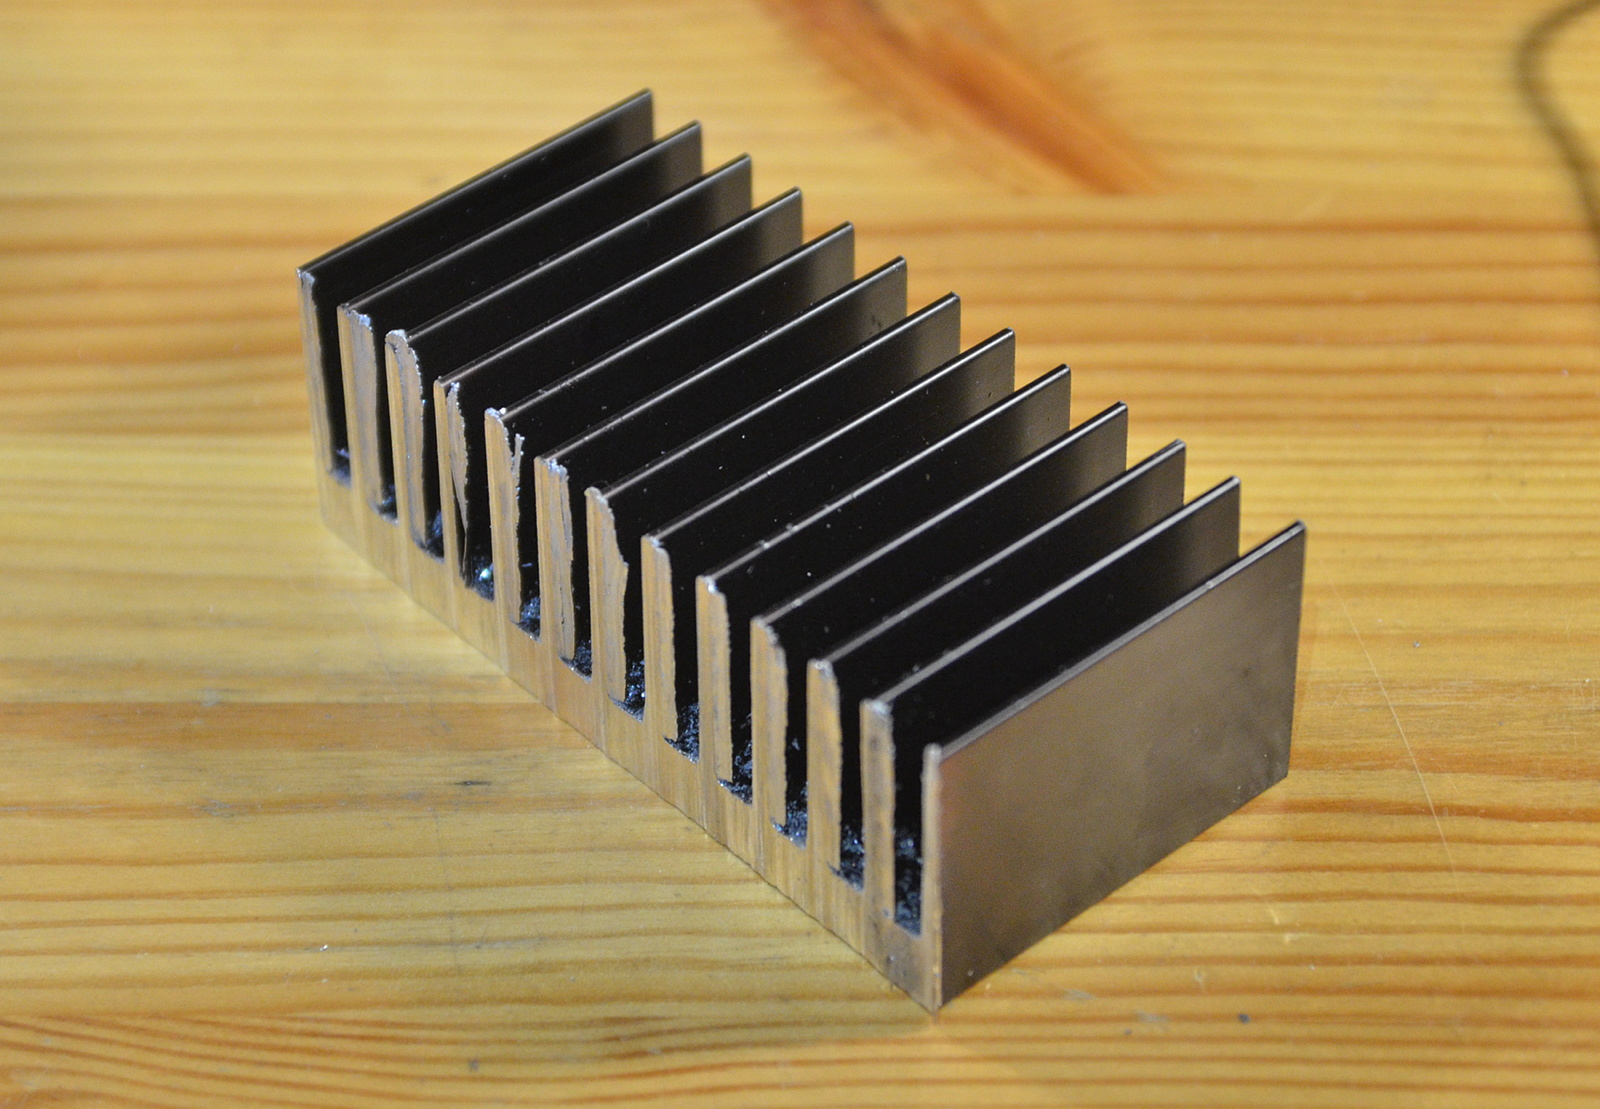
and cleaning it up a bit on a sharper beaver.
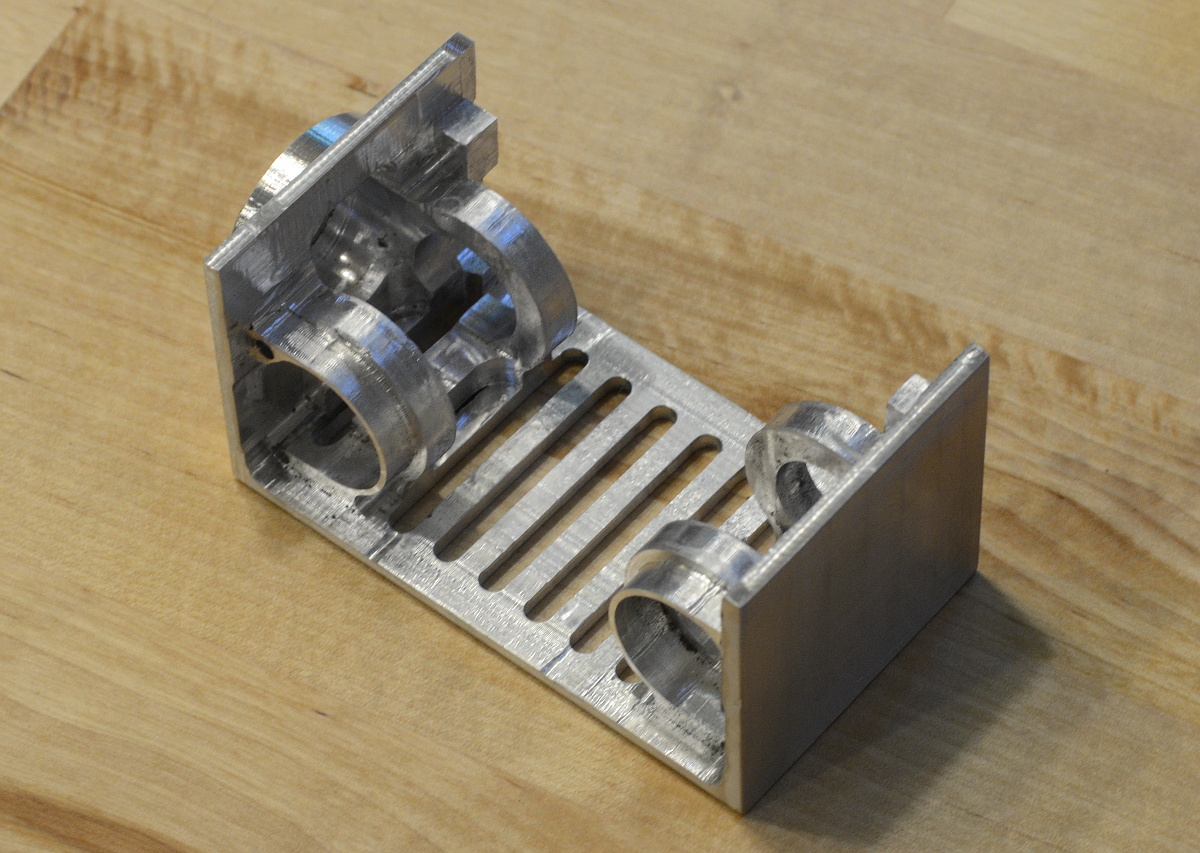
Trim to fit the existing enclosure, with an eye toward reusing the existing mounting holes on the enclosure's rear boss. Also drill and tap holes for LED mounting, power jack, and a notch for a BuckBlock controller, and we end up with something like:
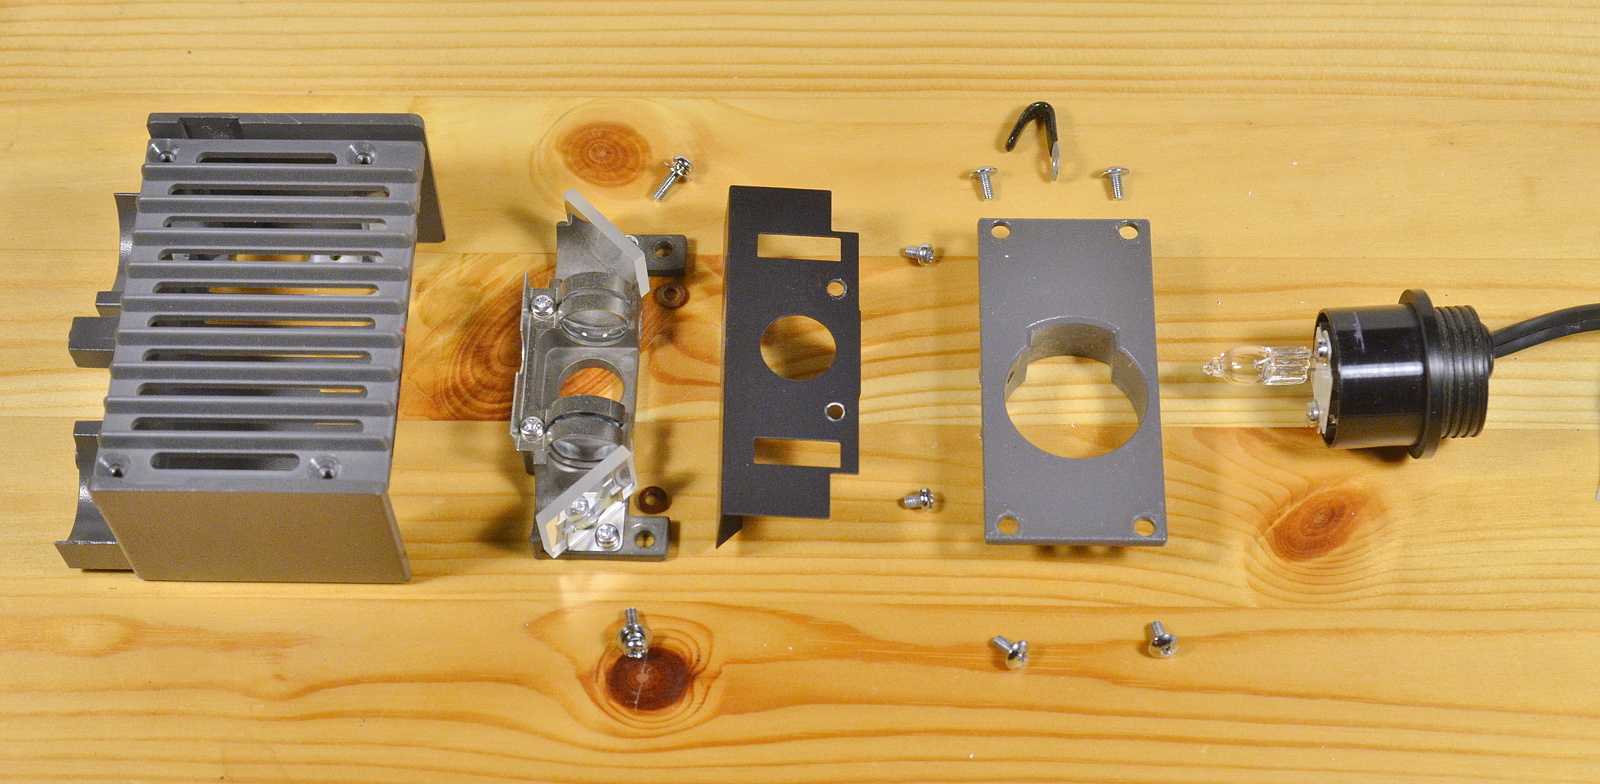
 I want an intensity adjustment knob, so I stole the boss off the prototype I machined earlier this year. Along with bolts, a really nice 11-position-with-detents potentiometer, and the aforementioned LED optics (but not including wires) we finally end up with this exploded build:

Next up will be a little paint, a schematic, and build/test.